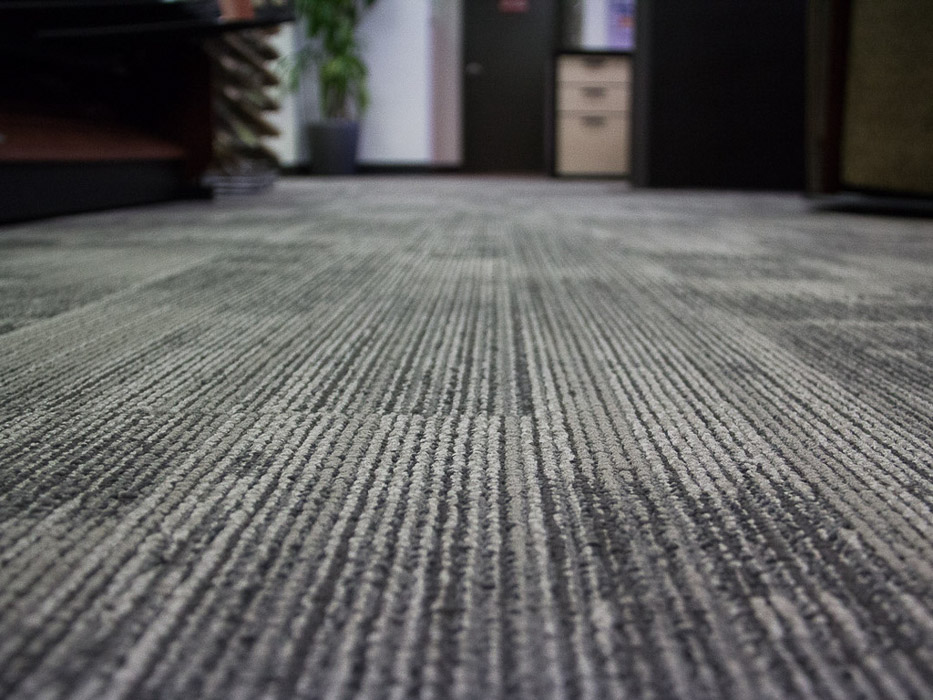
Perhaps you have a wee bit of time due to Covid-19 slow down and just maybe have the energy to re-carpet a basement rec room or home office. Carpet Tile might be a great product for your upgrade. At Beatty we have lots of great styles of in-stock choices of commercial carpet tiles that your kids or company just wouldn’t be-able to wear out. It’s family proof!
1. Gather your tools: Measuring tape. Sharp exacto knife, roller, tray, chalk, string and carpet tile glue.
2. Rip up old material and remove all tack strips. Repair any damaged areas then sweep or vacuum, then clean; be sure the floor is dry!
3. Create a straight edge to line the tiles up. Use measuring tape and chalk line to ensure you are running perpendicular to walls. i.e. straight! Start on distant end of room and measure off width of one carpet tile, eg.24inches, with a pencil mark. Then do the same measurement on the other long end of the room. Once you’ve got your two marks, then chalk the line from one mark to other mark and you’ve created a straight line the width of your tiles. (If your wall is not straight you may have to adjust your line and cut each first tile to match the line.) This is the line you will follow laying your tiles perpendicular to this line laying tiles across width of room.
4. Spread glue evenly. After you’ve got a straight chalk line it’s time to glue out the room. Use a roller and paint tray. Pour the glue into your tray and then roll it onto the entire floor using a 10 to 15 ml nap roller if concrete. If wood, use a 20 ml nap as wood will absorb more glue. Just be mindful to start at back of room and work to front of room where there is a door for you to exit. The amount of glue is like painting a wall. Not too much that is will drip and run but enough to cover; we’re not gluing the carpet tile permanently we’re just adding stickiness to the floor to place the tile so that is won’t lift easily by normal use but can still be pulled up if needed due to unexpected spills and stains by kids and pets.Once you’ve applied your glue, then you need to make sure that its’ dried or it’s cured. Maybe 40 – 60 minutes. The way you check to see if cured is just to touch it the glued floor. You want the floor to be extremely tacky but not wet. Simply put your thumb down onto the floor and then lift up; if there is no glue on your thumb your absolutely fine to start laying your tiles.
5. Start laying tiles. Look at the back of the tile and it will direct you on how to install with arrows. (If you pick up the tile from Beatty we’ll walk you thru the different laying designs you can try at home.) Start at the far end of room and place your first tile lined up with your chalk line. (If you need to trim the tile, always score and cut on the back side.) Then simple place your next tile according to your design preference building your first line perpendicular to your chalk line along your back wall; trimming if necessary to keep straight to chalk line. Your second and following rows will be easy peasy! If you start going off your line, simply lift up a tile and readjust. If you do make a mistake or your line starts going crooked, don’t worry, it’s extremely easy to correct and you won’t need a technician to fix as you can do it yourself! And of course, if you want any help, we are just a phone call away.
Call us at 604-254-9571 to visit our warehouse where you can pick from many of our instock carpet tiles and take home some today! Bring your measurements!
And, if you’re not feeling the energy, of course we could do the install for you. Let’s talk!
Beatty Floors
604-254-9571


